Preferences > Units > General: Inches, Stroke: Points, Type: Points
- Open the lab template then Save As from the File menu and title the document with your name.
- Go to the Layers palette then create a new layer. Name it 'Artwork' and assign it a color Orange. Also make all layers visible.
- Turn on your 'Smart Guides'. This will snap your objects to your template so that you don't have to do any guesswork.
- Color the Stroke and leave the Fill at None.
Set your stroke to 10 pt.
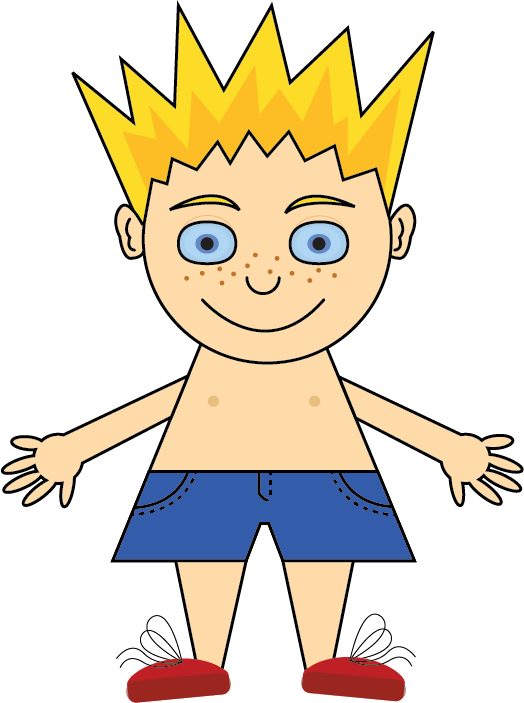
Select Ellipse tool > Find Center > Hold down Shift & Option
Create a circle on the top of his head.
- Copy your circle by selecting it and choose Edit > Copy and then select Edit > Paste In Front.
- Select 'Scissorss tool' and click on the two side (left and right) anchor points - this will slice your path in two.
- Hold down the Option and Shift keys and drag out from the middle of the eye.
- Draw a smaller circle inside the left eye.
- Select both the inner and outer circles of the eye, then Object > Group.
- Copy and paste this new grouped eye and move it to align with the right eye in the template.
- Draw the smile of the face.
- With the Pen tool, trace the body and left arm.
- Select the left arm, begin to drag the arm to the right, then depress the Shift key (to constrain the object's movement) and Option key (to make a copy of the object) simultaneously, and slide the object to the right of the body.
- With the new arm is still selected, choose the Reflect tool and move.
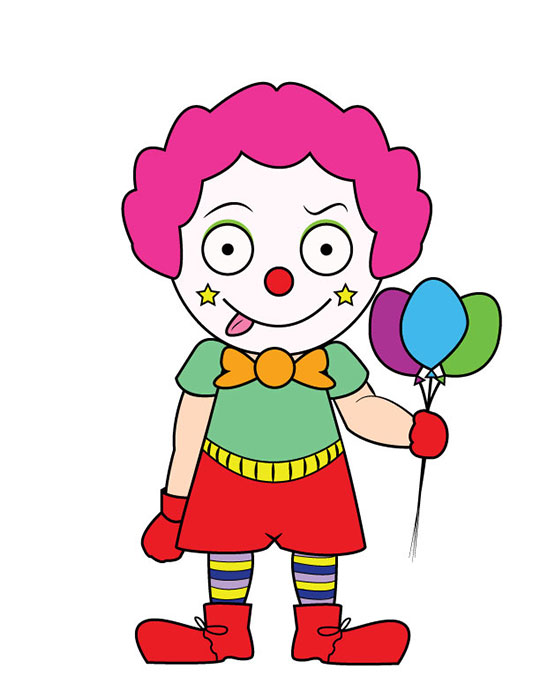
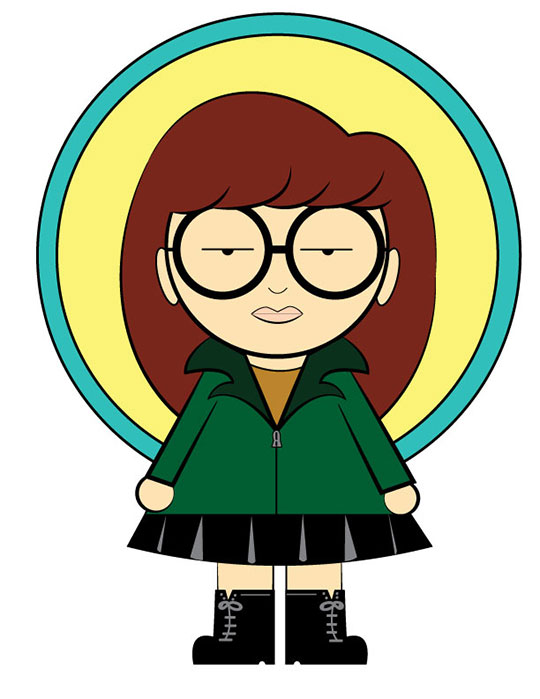
- Keep on working and finish the rest parts of the character. Apply your own imagination and creativity.
- When you're done, save it as ai (Adobe Illustrator) with your full name then turn it in to Blackboard.