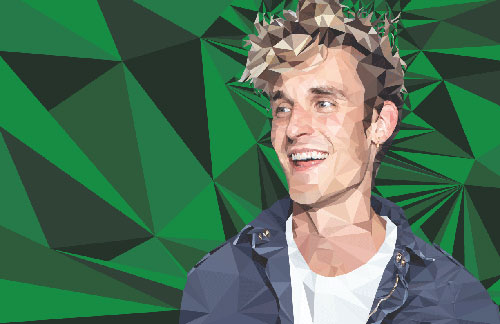
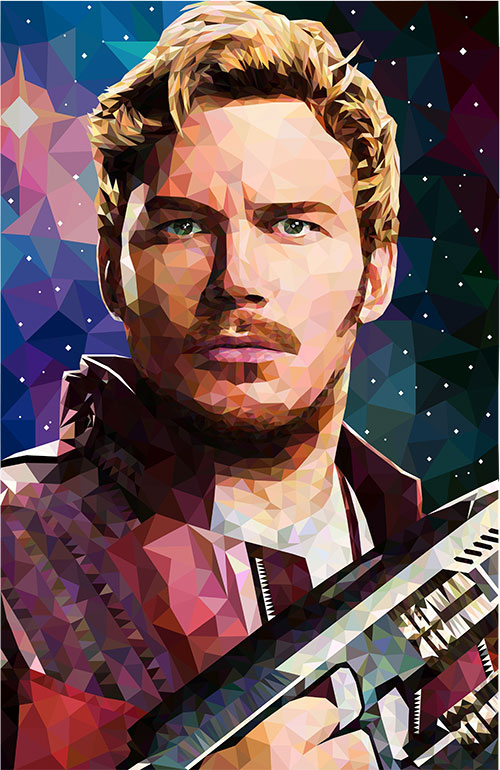
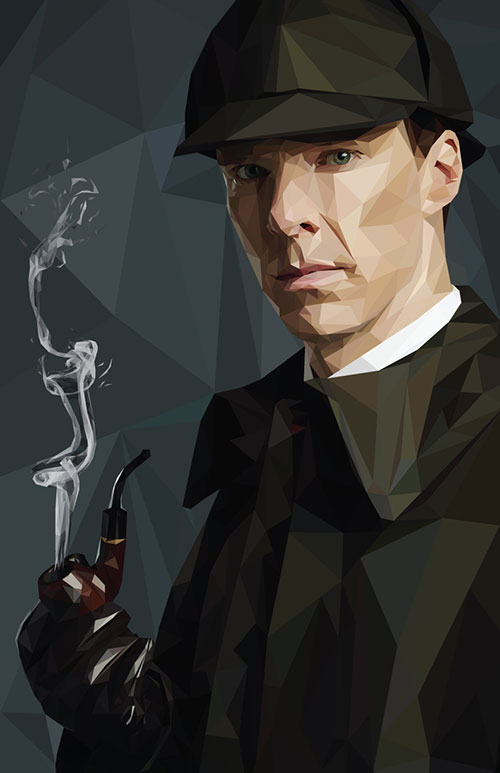
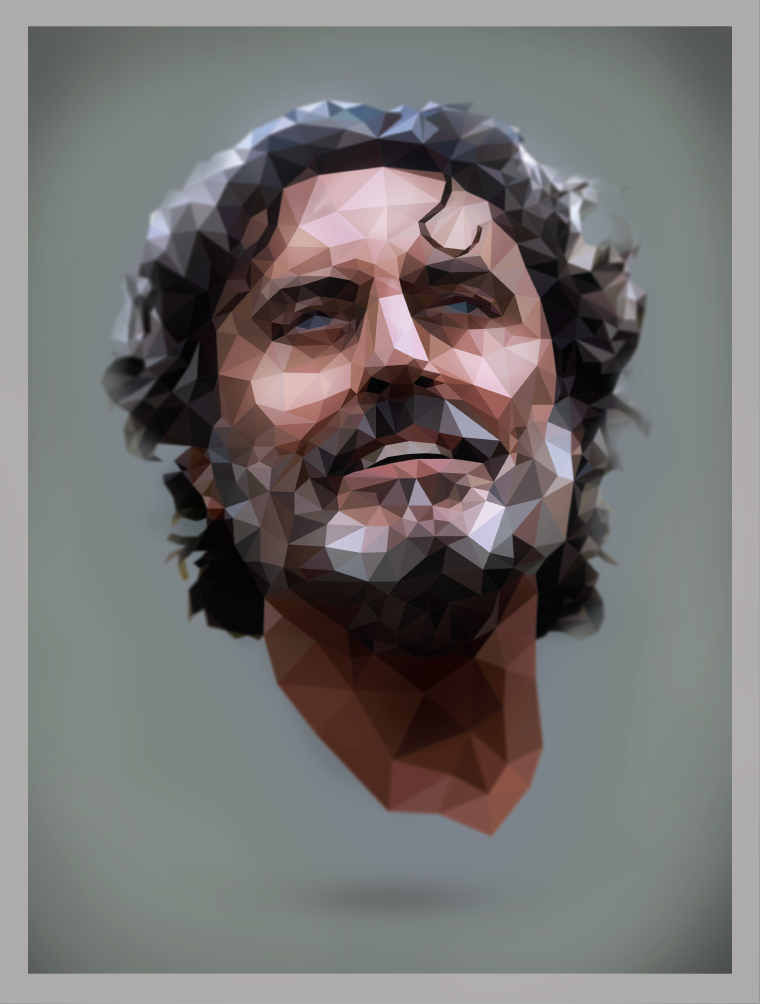
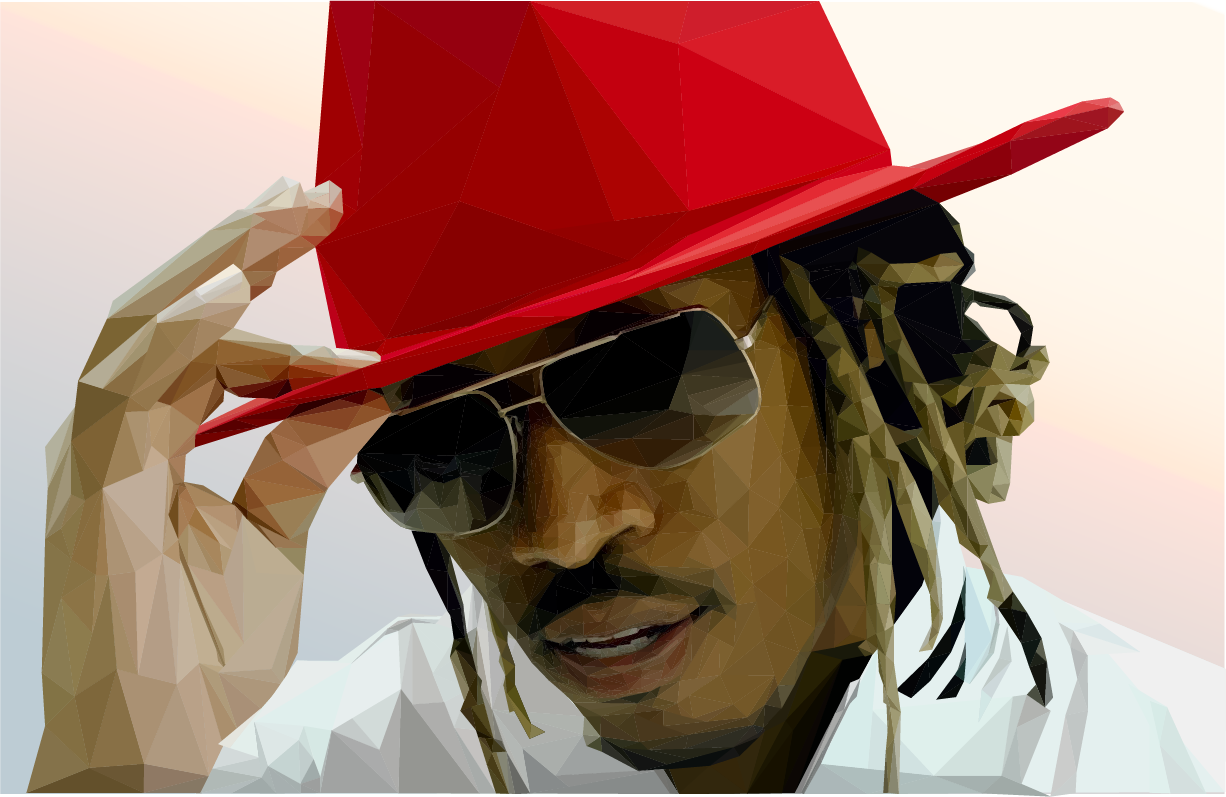
Through this project, you’ll learn how to create a low-poly portrait.
Even if you’re not familiar with the term, you’ve certainly seen the style. The “poly” from low poly comes from the word “polygon,” which is merely a 2-dimensional shape made of straight lines and angles.
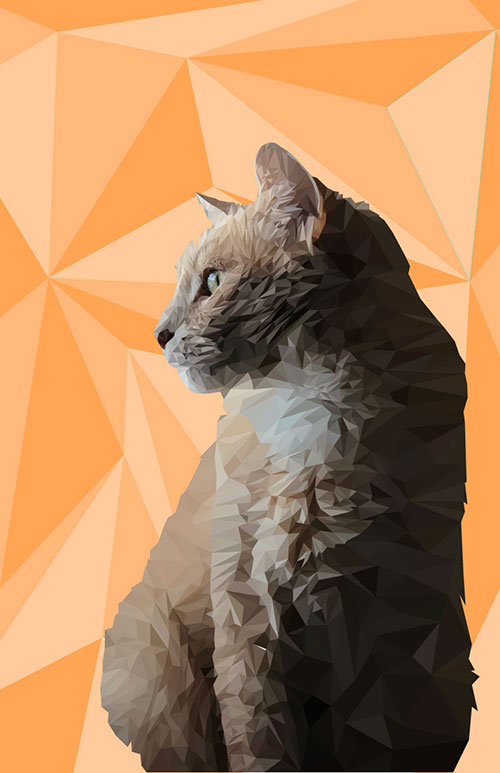
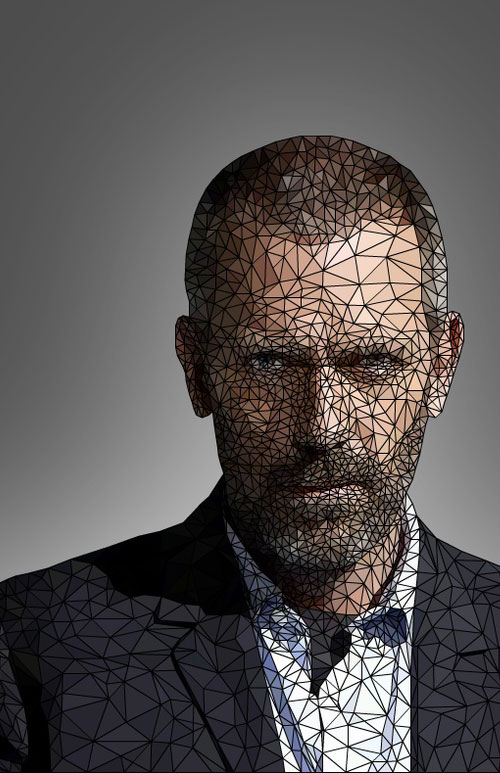
The use of low poly art comes from the early days of 3-D computer animation. Mocking up 3D scenes using a low polygonal resolution helped to reduce render times, which greatly speed up the development process of video games and animated films.
Technology has come a long way, but even today low poly is used to decrease render time. In fact, the low poly “look” has become something of a design trend. 3-D artists, illustrators are using simple polygons in their compositions to communicate texture and depth without sacrificing aesthetic.
Steps:
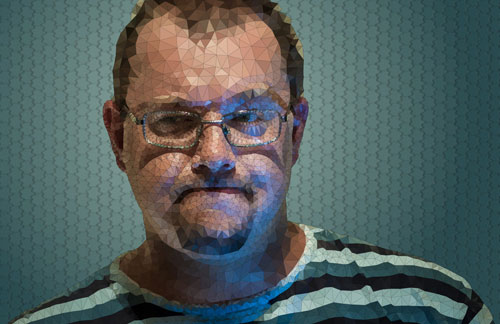
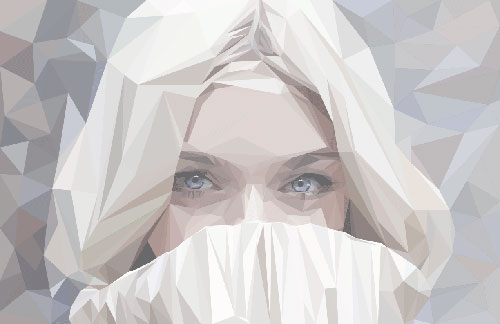
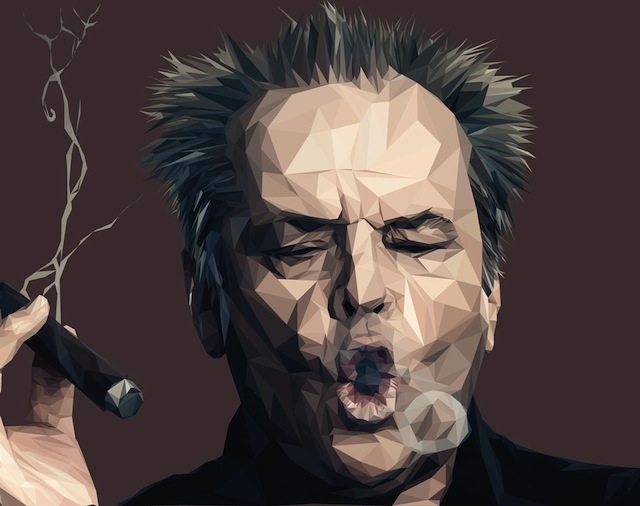
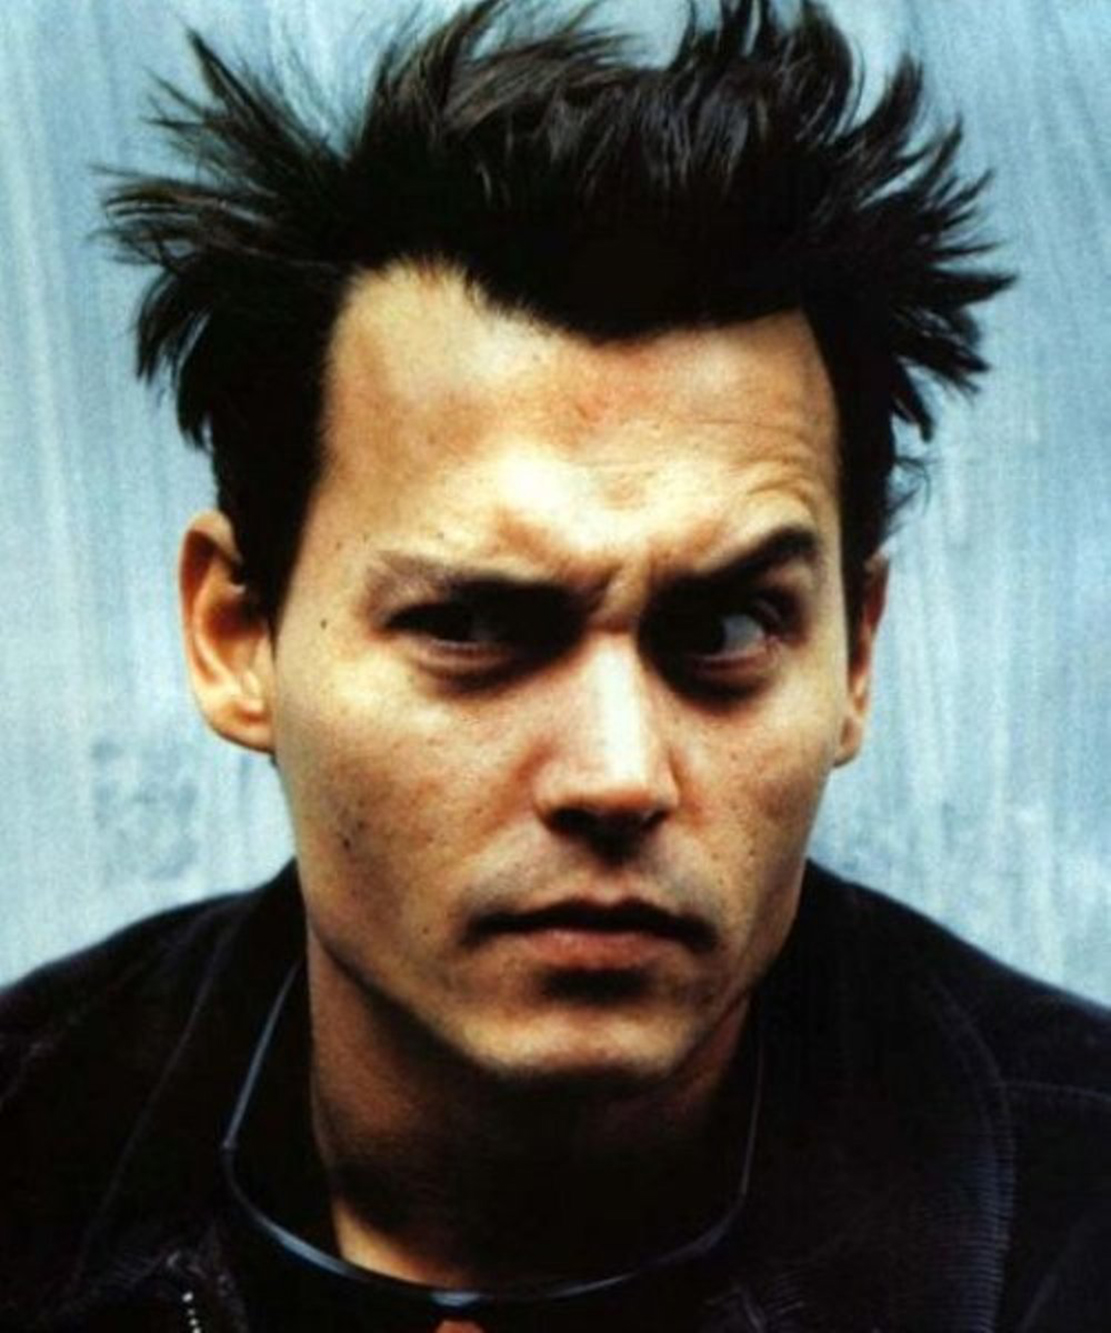
- First you’ll need a good photo reference of a person you wish to 'recreate'.
ex1, ex2
- Brainstorm and sketch illustration ideas on your sketchbook.
- Look at just the contours of the lines and curves around the portrait.
- Which ones are most 'important' in helping a viewer understand the figure?
Which one could be removed because they are unimportant?
Which ones could be exaggerated for added visual interest?
- Launch Photoshop.
- Open a new Photoshop document.
Size: Tabloid
Resolution: 300
Backgorund contents: Transparent
- Place the photograph of the person you chose on the document.
File > Place Embedded
- Adjust the scale, opacity, contrast, colour balance and levels to create a more dynamic image.
- Now we come to the time-consuming part of the process: the triangular mesh.
Small parts require small triangles, Large parts require large triangles. Stick to 'triangles'.
- Create your mesh using a small Brush on an empty layer above the photograph.
- Use a light colour that contrasts with the portrait.
- It’s now time to refine any mistakes triangles. Hide the image reference. You need to just concentrate on the mesh. Clean it up and look for any triangles you’ve forgotten to create.
- save it as a jpg.
- Launch Illustrator.
Size: Tabloid
- Place your mesh into your Illustrator artboard, lock it.
- Double click the layer and Dim image to about 70%. Then create a new layer.
- it’s time to trace a vector mesh of triangles over it in a contrasting colour using the 'Pen tool'.
- You don’t need to close up your triangles, just use the Pen tool to mark out the three points. It’ll save you a bunch of time over the hundreds of triangles you’re gonna create.
- With the 'Direct Selection' tool, select each group of points then align them as necessary.
- Now move the points around to correct their position if needed.
- Check over your mesh for any missed triangles.
The best way to do this is to select all of your vectors (Cmd+ A) then invert the Fill and Stroke (Shift + X).
When you’ve got a complete mesh, move onto the next step.
- Let’s add color. Select each triangle, choose the 'Eyedropper' tool (I) and select the colour in the middle of each triangle as fill to it. Apply color fills that represent the highlights, mid-tones, and shadows to give the items a bit realistic depth as you wish.
- Add the finishing touches. Introduce details to the items that maintain a stylized appearance and contribute to the illusion of depth.
- Spend some time comparing your illustrator image with your actual items. Most likely you have left out many of the details-which are good, since we want the illustration to be simple and stylized.
- Your illustration must be saved as AI format with your fullname then submitted to Blackborad.
It also needs to be printed in a Photo quality Inkjet paper (Matte, 11x17"), and fixed on 17"x21" matboard then turned in to the instructor.